Sequential Events Audience Targeting
A typical use case for behavioural targeting would be targeting users based on a sequence of events in a specific order.
An example would be targeting users who have added items to their cart and haven't yet checked out, thus creating an "abandoned cart" campaign.
Having this functionality also enables us to create personalisation campaigns that run until a user has completed an action. For example, running a promotion for 10% off your next order. Once each user has seen the campaign, and completed an order they should be removed from the campaign.
Pre-requisites
Optimizely Personalisation and behavioural targeting is part of Optimizely Web Enterprise plans.
Instructions
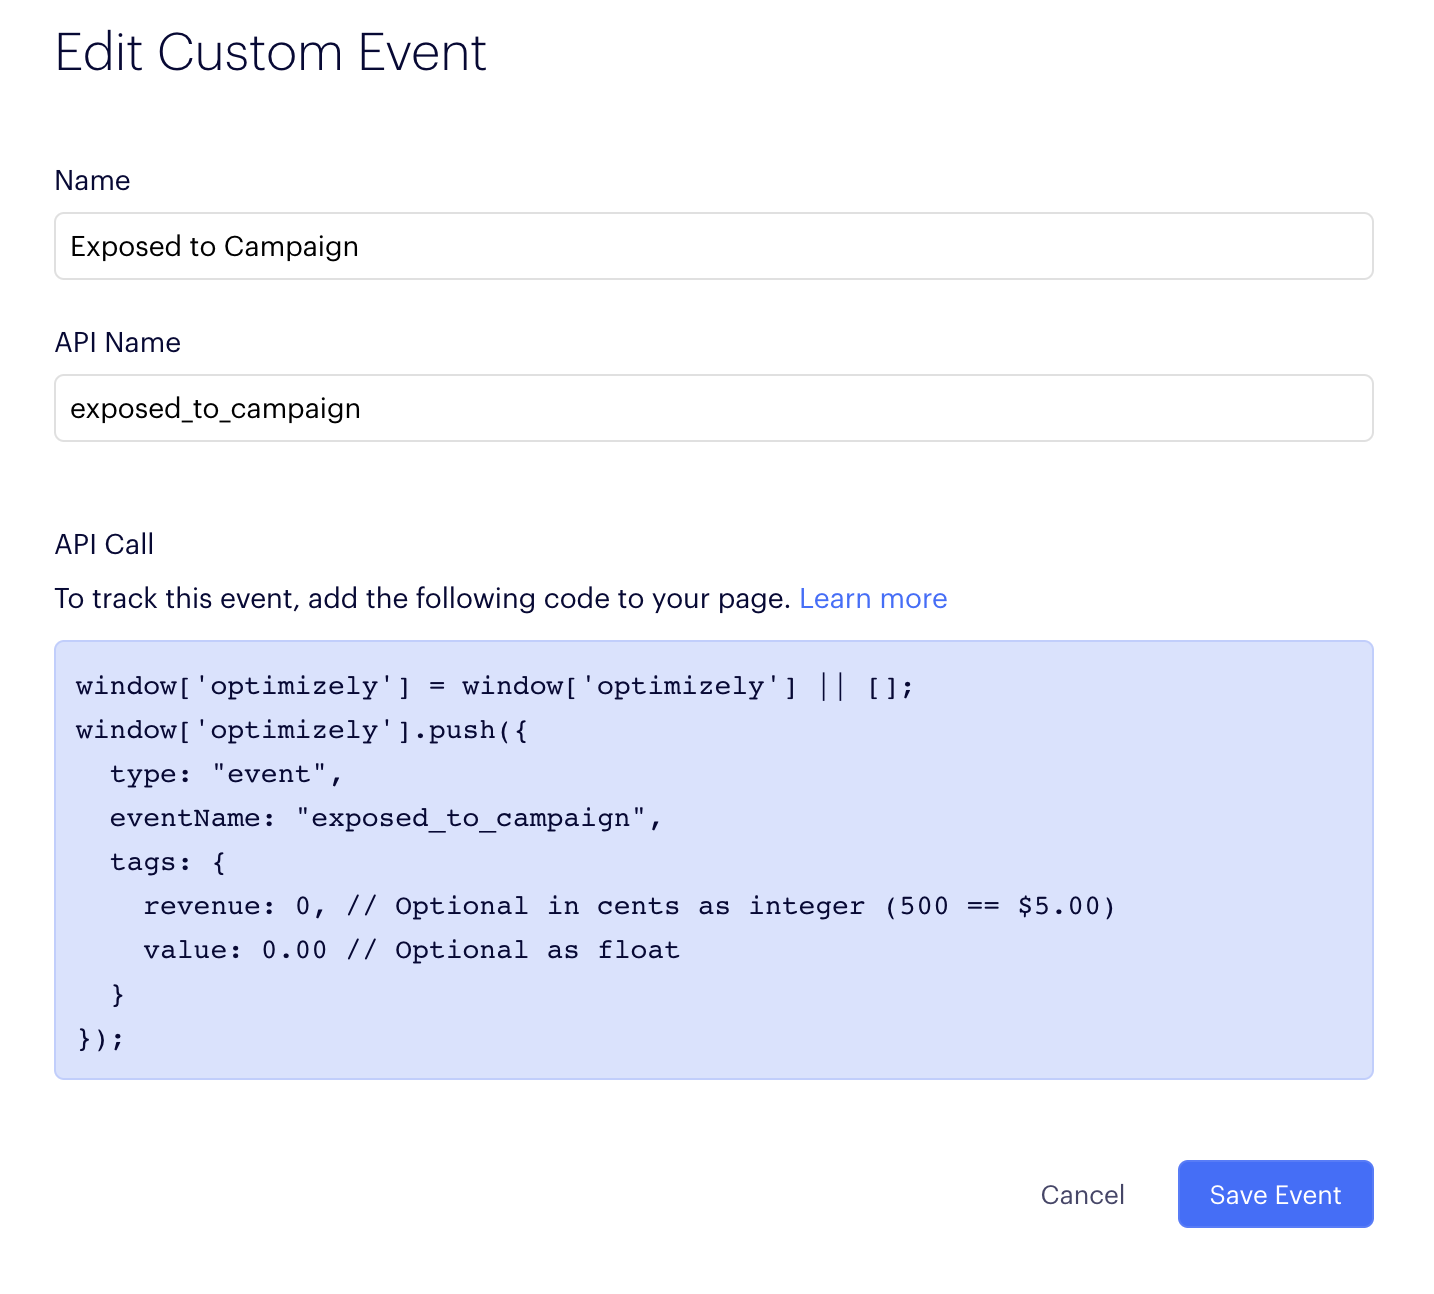
Step 1: Create a custom event called exposed_to_campaign
Create a custom event by navigating to your Optimizely project, selecting "Implementation" in the menu, navigating to the "Events" tab and click "Create New Event...".
Configure your event as below:

We are going to use this event each time a user is bucketed into an experiment or personalisation campaign. When we create a custom event we get the ability to query those events using the Optimizely Behavioural API. This gives us the timestamp for the event, which we can use to compare the chronological sequence of events.
The Behavioural API also gives us functions for sorting, reducing and querying events. This enables us to quickly access the relevant data that we need.
Step 2: Setup a custom analytics integration
Create a custom analytics integration with the following code by navigating to "Settings" and then selecting the "Integrations" tab. Click "Create Analytics Integration..." and choose "Using Visual Editor".
window["optimizely"] = window["optimizely"] || [];

var tags = {
  experimentId: experimentId
};

window["optimizely"].push({
  type: "event",
  eventName: "exposed_to_campaign",
  tags: tags
});
This analytics integration is fired each time Optimizely buckets your user into an experiment or experience and will log the experiment id to the event we created above.
Step 3: Add this code to your project Javascript
Still in "Settings" navigate to the "JavaScript" tab where you can create some "Project Javascript" that is evaluated before Optimizely buckets users.
Add the following code to your Project Javascript:
window._optlyTimestampForEvent = function (
  event_key,
  most_recent,
  experiment_id
) {
  var filter = [
    {
      field: ["name"],
      value: event_key
    }
  ];

  if (experiment_id) {
    filter.push({
      field: ["tags", "experimentId"],
      value: experiment_id
    });
  }

  var behavior = window["optimizely"].get("behavior");

  var result = behavior.query({
    version: "0.2",
    filter: filter,
    sort: [
      {
        field: ["time"],
        direction: most_recent ? "descending" : "ascending"
      }
    ],
    reduce: {
      aggregator: "nth",
      n: 0
    }
  });

  if (!result) return null;

  return result.time;
};

window.optlyFirstExposedToExperiment = function (experiment_id) {
  return _optlyTimestampForEvent("exposed_to_campaign", false, experiment_id);
};

window.optlyLastExposedToExperiment = function (experiment_id) {
  return _optlyTimestampForEvent("exposed_to_campaign", true, experiment_id);
};

window.optlyFirstOccuranceOfEvent = function (event_key) {
  return _optlyTimestampForEvent(event_key, false);
};

window.optlyLastOccuranceOfEvent = function (event_key) {
  return _optlyTimestampForEvent(event_key);
};
The above code queries the behavioural API and exposes 4 functions that will allow you to determine the order of events. We are going to use those functions in an audience in Step 4:
optlyFirstExposedToExperiment(experiment_id): Returns the timestamp the user was first exposed to a specific experiment (identified by the experiment id)optlyLastExposedToExperiment(experiment_id): Returns the timestamp the user was most recently exposed to a specific experiment (identified by the experiment id)optlyFirstOccuranceOfEvent(event_key): Returns the timestamp the user first triggered an event (identified by the event key)optlyLastOccuranceOfEvent(event_key): Returns the timestamp the user most recently triggered an event (identified by the event key)
All of the functions above return unix timestamps, which make comparisons very easy.
Step 4: Use those function in an audience
Create an audience in your project by navigating to "Audiences" in the menu, and clicking "Create New Audience...".
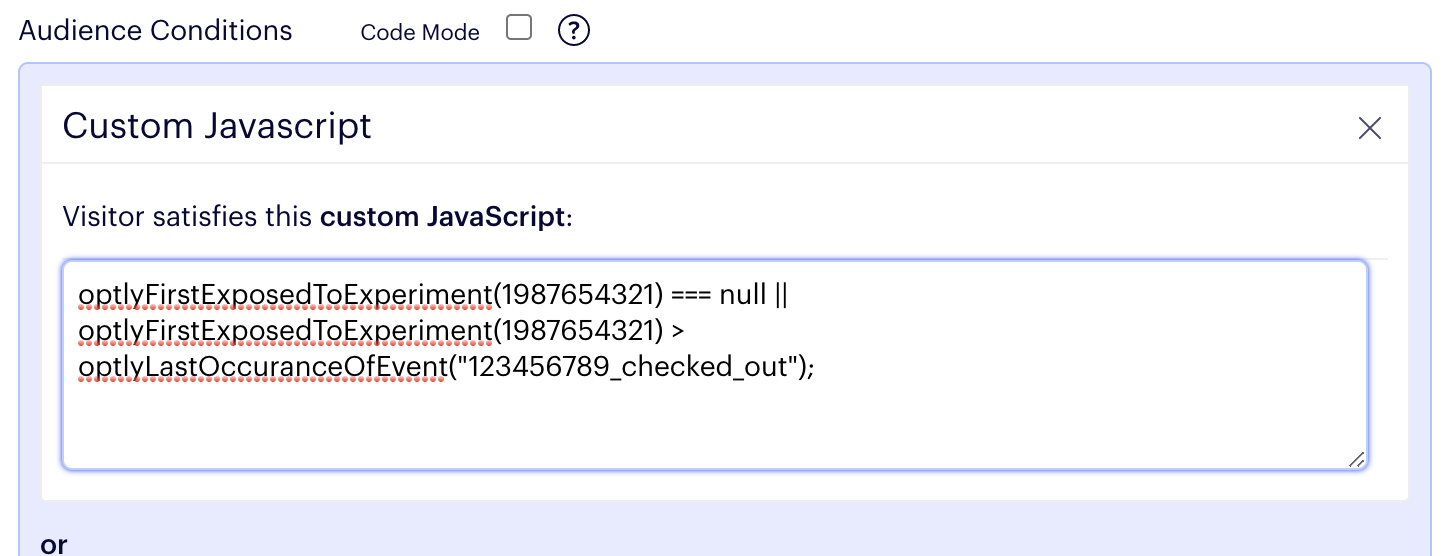
To use the functions we created above we can use a "custom javascript" targeting rule. You can find this in the right hand box of rules under the "Standard" group.
Drag and drop the custom javascript rule onto your audience and use the following examples to help you construct your audience:
Visitor added to basket but hasn't checked out:
optlyLastOccuranceOfEvent("123456789_added_to_basket") > optlyLastOccuranceOfEvent("123456789_checked_out");
Visitor has seen personalisation campaign but hasn't yet completed the goal (checking out their basket):
Note that we are using the experiment id not the campaign id. In
personalisation campaigns each experience within your campaign will have a
unique experiment id. We are using the experiment id so that the user still has
the opportunity to be bucketed into another experience within our
personalisation campaign once they stop qualifying for this one.
Additionally we are checking to see if
optlyFirstExposedToExperiment(experiment_id) is null as this means the user
hasn't yet been exposed to the personalisation campaign.
optlyFirstExposedToExperiment(1987654321) === null || optlyFirstExposedToExperiment(1987654321) > optlyLastOccuranceOfEvent("123456789_checked_out");

Extending this Solution
The behavioural API can give us powerful insights into the events and behaviours
our users are displaying. Additionally, the custom analytics integration that we
set up above has the ability to log the campaign id and variation id for
each user's bucketing decisions as well as the experiment id we are already
capturing, meaning that we could include more intelligence in some of our
decisions.
To extend this code please see the following documentation links:


